Words or symbols? or both? Project instructions come in various forms; Written with or without photos, charts and diagrams, videos. Sometimes instructions will combine several of these styles because there are pros and cons to using just one of these methods of instruction. Take written only patterns; perhaps the pattern did not have testers, is lengthy or uses terms the you are not familiar with. Photos can usually help to clear up these issues but sometimes a video tutorial will be needed to demonstrate a stitch or technique that is new. However they are portrayed, visuals contribute to overall consistency in pattern creation and their subsequent recreations, and are a MUST for all patterns.

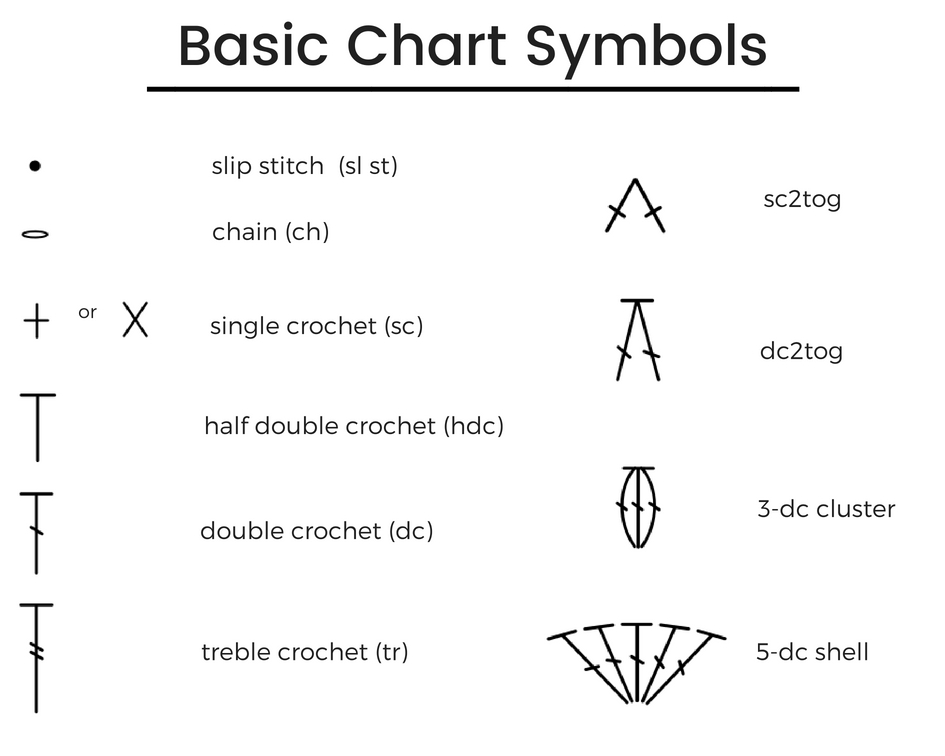
So it follows that charts and diagrams would be extremely valuable visual tools when writing patterns since the symbols confirm the written pattern more accurately than a photo by indicating which stitch is being used as well as it’s placement. Ideas for new patterns can be flushed out by drawing preliminary charts because you can see roughly how it will look and if it will work up properly (counting stitches and spaces) when sketching out the design. They can even be used in place of written patterns for just that reason.
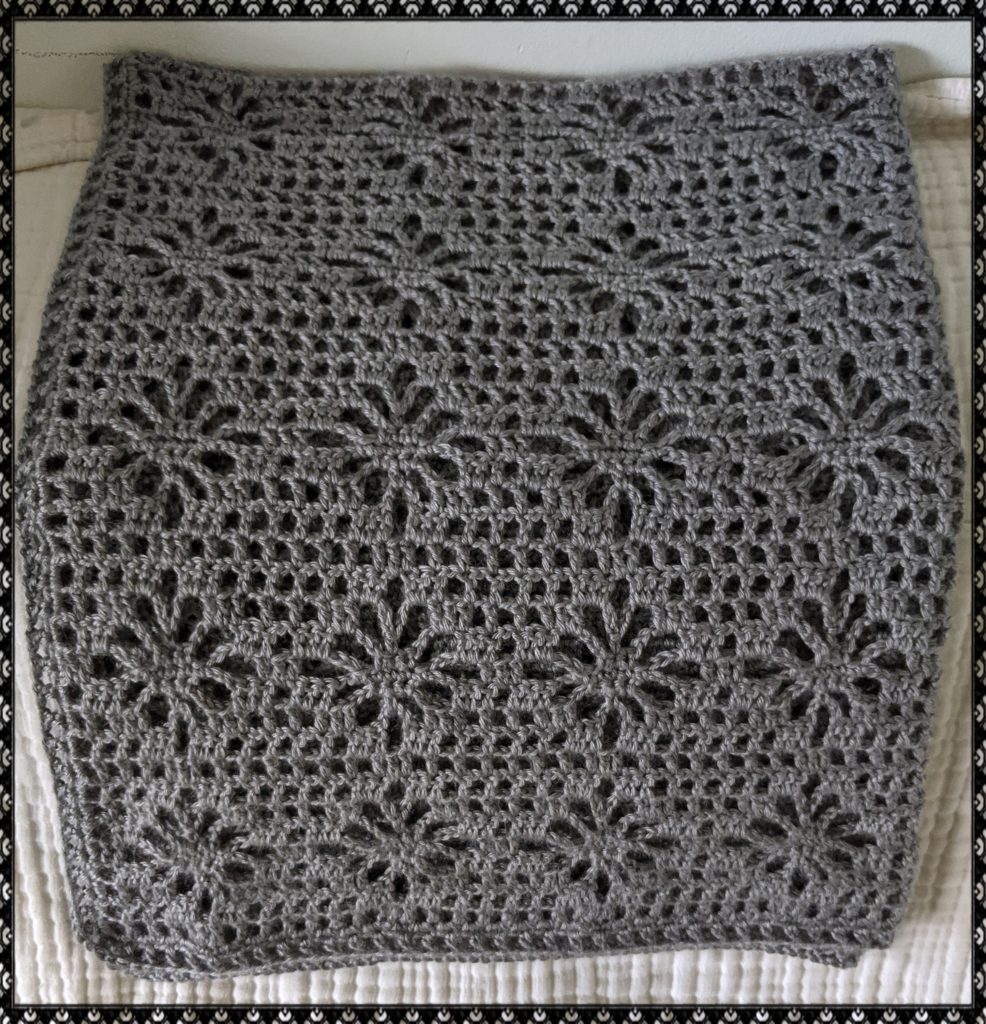
Charts are particularly great with repeated motifs like the photo above. Don’t be intimidated by the symbols in these charts. They are actually very simple to read. You read them the same as you would work your project: back and forth. The start is always marked and typically the direction from the start is indicated as well for beginners. Most charts use two to four stitches, keeping it simple, as well as repeating the same motif (stitches/rows) this makes it easy to size the project yourself.

Filet Crochet patterns are great for beginners because there are chain spaces separating the larger stitches making it easier to read. Even spacing juxtaposed with denser stitched areas is how the motifs in Filet Crochet become visible. A photo of the finished item should also accompany the chart or at least a photo of the repeated motif but I have worked with charts sans photos and the outcome has still been gorgeous.

The chart above uses only 2 stitches; the chain stitch (ch) and the double crochet stitch (dc). This pattern repeats a motif of 17 stitches for 8 rows. This makes it possible to adjust the width as well as the height of you project by measuring your gauge for one motif and dividing your preferred size by that square measurement. For instance: I measured 4 dc by 2 dc as 1 inch square. So 17 stitches wide is roughly 4 inches and 8 rows is roughly 4 inches. That means that with my gauge, each motif I crocheted was 4 inches square. so I repeated the motif for 8 across and 10 high to give me a rectangle of around 32/34 inches wide and 40/42 inches tall. (before I added edging.) Traditional baby blanket size. With edging ~ 36 in x 44 in
I still use written patterns a good deal, but I have a great respect for charted patterns because of their accuracy and the ease of visualizing what my project should look like as I work on it. That said, I don’t think they can be used standalone for some clothing projects since often written directions or a video tutorial is nice to have in addition in order to demonstrate the construction part of the project. So if you haven’t followed a chart or used one for your work before, give it try. No matter how you create, make it something YOU LOVE!